Starlink setup tips for Rio Verde and rural homes
The short answer
To get the most out of Starlink, run the Starlink app's obstruction check from the exact spot before you mount anything, mount the dish solidly with a wide, clear view of the sky, bring the cable inside without long runs through a hot attic or garage, and keep the router indoors in a central spot. For larger homes or a casita, add Starlink mesh units, or put Starlink in bypass mode and run your own mesh system with wired links.
Why Starlink is popular out here
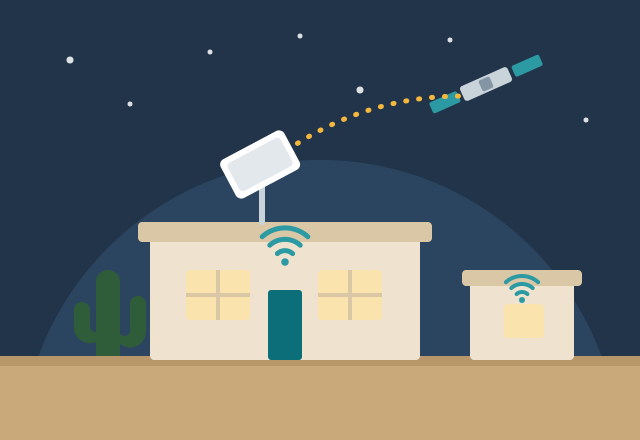
Many homes in and around Rio Verde have limited wired internet choices. Starlink gets its signal from satellites instead of a cable in the street, so it works almost anywhere with a clear view of the sky. Set up well, it handles streaming TV, video calls and working from home without trouble.
When Starlink disappoints, it's almost always one of three things: something partly blocking the dish's view of the sky, a mount or cable that wasn't done right, or a router that can't cover the whole house.
Step 1: Check for obstructions before you mount
The Starlink app has a "Check for obstructions" tool that uses your phone's camera to scan the sky from where you plan to put the dish.
- Scan from the exact spot and height where the dish will go. A few feet higher can clear a roofline or tree.
- Watch for trees, palms, saguaros, the roofline, chimneys, the neighbor's second story and the hillside. Even a small blocked slice causes short dropouts, which show up as frozen video calls and buffering.
- Plan for growth. A young mesquite or palo verde that's fine now can block the view in two or three years.
- After it's installed, the app keeps an obstruction map that builds up over the first few hours. Check it after a day to confirm the view is clean.
Step 2: Mount it for monsoon winds
- Ground stand: fine for testing, but it gets bumped by pets, kids and landscaping crews, and the view is often lower than it needs to be.
- Roof or wall mount: usually the best view. Use the Starlink mount made for your roof type and seal every penetration so monsoon rain can't get in.
- Pole mount: good for getting above a roofline or trees. A tall pole needs to be anchored well, and a mast that rises above the roof should be grounded according to local code.
Make it solid. Monsoon gusts move a loose mount, and a dish that shifts loses its lock on the satellites.
Step 3: Put the router in the right place
- Indoors and central. The Starlink router is your home's WiFi. A router in the garage or a back closet leaves half the house with weak signal, and Arizona garages get hot enough in summer to shorten the life of electronics.
- Off the floor and in the open. Block walls and stucco absorb WiFi, so the more central, the better.
- On a battery backup (UPS), so internet rides through the short flickers that come with storms.
Step 4: Cover the whole house and the casita
One router rarely covers a large Rio Verde home, a casita and the patio. Your options, from simplest to strongest:
- Starlink mesh units. They pair with the Starlink router and extend the same network. Easiest, but they link to each other over WiFi, so they still have to fight through block walls.
- Wired Starlink mesh or access points. The current Starlink Standard kit's router has two Ethernet ports, so mesh units or access points can be connected by cable for full speed at the far end of the house or in the casita. Older Starlink routers have no Ethernet ports and need Starlink's Ethernet adapter.
- Your own mesh system in bypass mode. In the Starlink app's settings, bypass mode turns off the Starlink router's WiFi and routing so your own mesh system (eero, Deco, ASUS and others) runs the network. This avoids two routers fighting each other. Note that undoing bypass mode requires a factory reset of the Starlink router.
Keeping it running well
- Check the app's statistics now and then. It shows outages, speed tests and the percentage of time the view was blocked.
- After a dust storm, a quick look at the dish is enough. It's designed to shed dust and rain on its own.
- If speeds drop for no clear reason, restart Starlink from the app or unplug its power for 30 seconds.
When to call for help
If you're getting dropouts, can't find a clear mounting spot, or the WiFi doesn't reach your bedroom, office or casita, I'll check the setup from the dish to the farthest room and fix the weak spots, including wiring the casita and setting up mesh. See WiFi and network setup and tech support in Rio Verde.
Common questions
Why does my Starlink keep dropping for a few seconds?
Short drops are almost always caused by something partly blocking the dish's view of the sky, such as a tree, roofline or chimney. Open the obstruction map in the Starlink app to see where, then raise or move the dish.
Where is the best place to mount a Starlink dish?
Wherever it has the widest clear view of the sky, usually on the roof or on a pole above the roofline. Run the app's obstruction check from that exact spot first, and mount it solidly enough to handle monsoon winds.
Can I use my own mesh WiFi with Starlink?
Yes. Either plug your mesh system into the Starlink router's Ethernet port, or turn on bypass mode in the Starlink app so your mesh system runs the whole network. Bypass mode avoids two routers competing.
Does rain or a monsoon storm affect Starlink?
Heavy rain can briefly lower speeds, but service usually recovers within minutes. Wind is the bigger risk, because a mount that moves can lose signal. A solidly anchored mount solves that.
How do I get Starlink WiFi to my casita?
The most reliable way is a network cable from the Starlink router to a mesh unit or access point in the casita. If you can't run a cable, a point-to-point wireless bridge between the house and the casita works well with a clear line of sight.
More tech tips

Smart TV keeps buffering? How to fix streaming problems at home
Why Netflix, YouTube TV and other apps buffer on your smart TV, how to tell a WiFi problem from an old TV, and the fixes a technician uses first.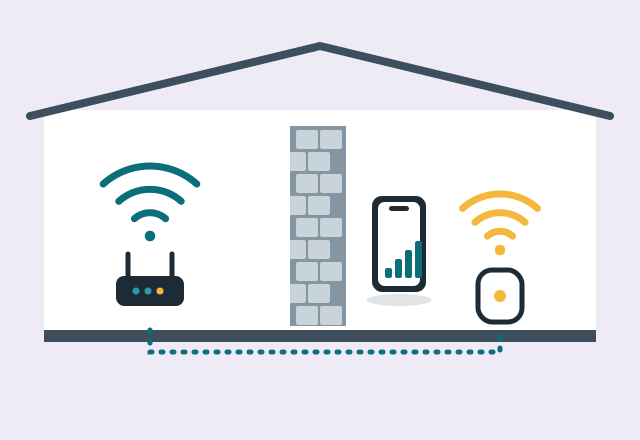
Why WiFi struggles in Fountain Hills homes, and how to fix dead spots
Block walls, stucco over wire lath, casitas and long single-story layouts are tough on WiFi. Here's why, and the mesh and wiring fixes that actually work.
Printer says "offline"? How to fix it at home
Why your printer shows "offline" on Windows or Mac even though it's on WiFi, the fixes that work, and how a technician stops it from happening again.
Scam calls and texts targeting seniors: what to watch for and how to stay safe
The phone, text and computer scams most often aimed at older adults in Arizona, the warning signs, and the specific phone settings and habits that stop them.